Spray Painted Shoes?...

Why not!

I've seen a few tutorials floating around about painting your shoes, never thought anything of it until I saw the one over at Made. Hers are orange, bright and spunky, I wanted mine to be similar. I scoured my closet for shoes that I really didn't care about, just in case it didn't work out. And way way in the back under a huge pile of shoes, I found these.


Nothing wrong with them right? Except for the fact they are a little too small and yes I still wore them, before I got a better pair.

I had some left over aqua/teal spray paint from a previous project and thought it would be the perfect color for my "new" shoes.


I know most people craft when their kids (if they have young ones) are sleeping or at school. I try for the most part but sometimes that doesn't happen. In fact I tend to craft from the moment I wake up, with large breaks in between for caring, feeding, cleaning and whatever else us moms do, to the moment I go to bed. So my supplies are usually out, all of the time.

Anyhow, I painted these back when it was warm out, warm weather means I let my children run around our backyard and sometimes that equals my son getting into my business.

He thought painting his hair was fun!


The final product


I actually think they look really good. And as you can plainly see I goofed in some spots and it ran in others. But honestly who's lookin that close?


Spray Painted Shoes!


* EDIT... Mandy @ SugarBee asked how they were holding up. Well so far so good. I didn't expect them to stay perfect forever. I have noticed that the more I wear them the more they kind of wrinkle, esp where my foot bends near my toes and I have chipped some paint off from sliding my foot against the other when I took a step. After 10 or so wears they are holding up, but like I said, I don't expect it to be long before they chip off a lot more. Thanks for asking, I'm sure it helps all those who are undecided about doing a project like this.

Babies On The Brain...

**I've got a little catching up to do. I went out of town for Christmas and basically missed everything in the blogging world since the beginning of December. There are so many good ideas out there I can't wait to go through them all.**

I have had babies on the brian for some time. No no, not for me, I still have a wee one and have plenty of time before I even think about having another. The i've been thinking a lot about babies is because everyone I know is pregnant, which means everyone (who isn't on their 2nd or more child) is having a baby shower. This would include my sister in law and many many of my friends.

I wanted to share a little gift idea I had for my sister in law and for one of my friends for their new arrivals. My sister in law a girl and my friend a boy. I imagine as spring approaches I will be making many more gifts to give and I will posts those as they come along.

Anyhow, my sister in law had her shower in December and since I live states away, I was unable to go. I had planned a few months in advance what I wanted to do and hoped it would work out, to my surprise, it did and I am super pleased.

I wanted to go with a bright, cute candy theme. I grabbed some white onesies and white socks and died them 5 different colors (I died some for my little one as well). I let them sit in the dye bath for at least 4 hours, I wanted them BRIGHT!

After, I rinsed and vinegar-ed them to set the color. Once they were dry I rolled them up (socks inside) like little cupcakes, put a rubber band around the bottom and put some tinfoil liners under them...

Here they are in the box. I made coordinating hair clips to put on top. Apparently I didn't have any green ribbon... odd!


I figured 5 onesies and socks weren't enough so I made her some binky clips to match.


and because I was in the crafting mood, I made some other cute hair goodies as well.


So continuing with the "candy" theme. I wrapped the binky clips and hair goodies in tissue paper and ties the ends off with colorful ribbon, like a hard candy.


All the items in the box ready to go...


I wrote her a cute note (not pictured) with lots of puns about the baby being a "sweet treat" and so forth. I was giggling inside as I was writing it. Sometimes I think I am too funny, I'm sure many of you feel the same way about yourself.


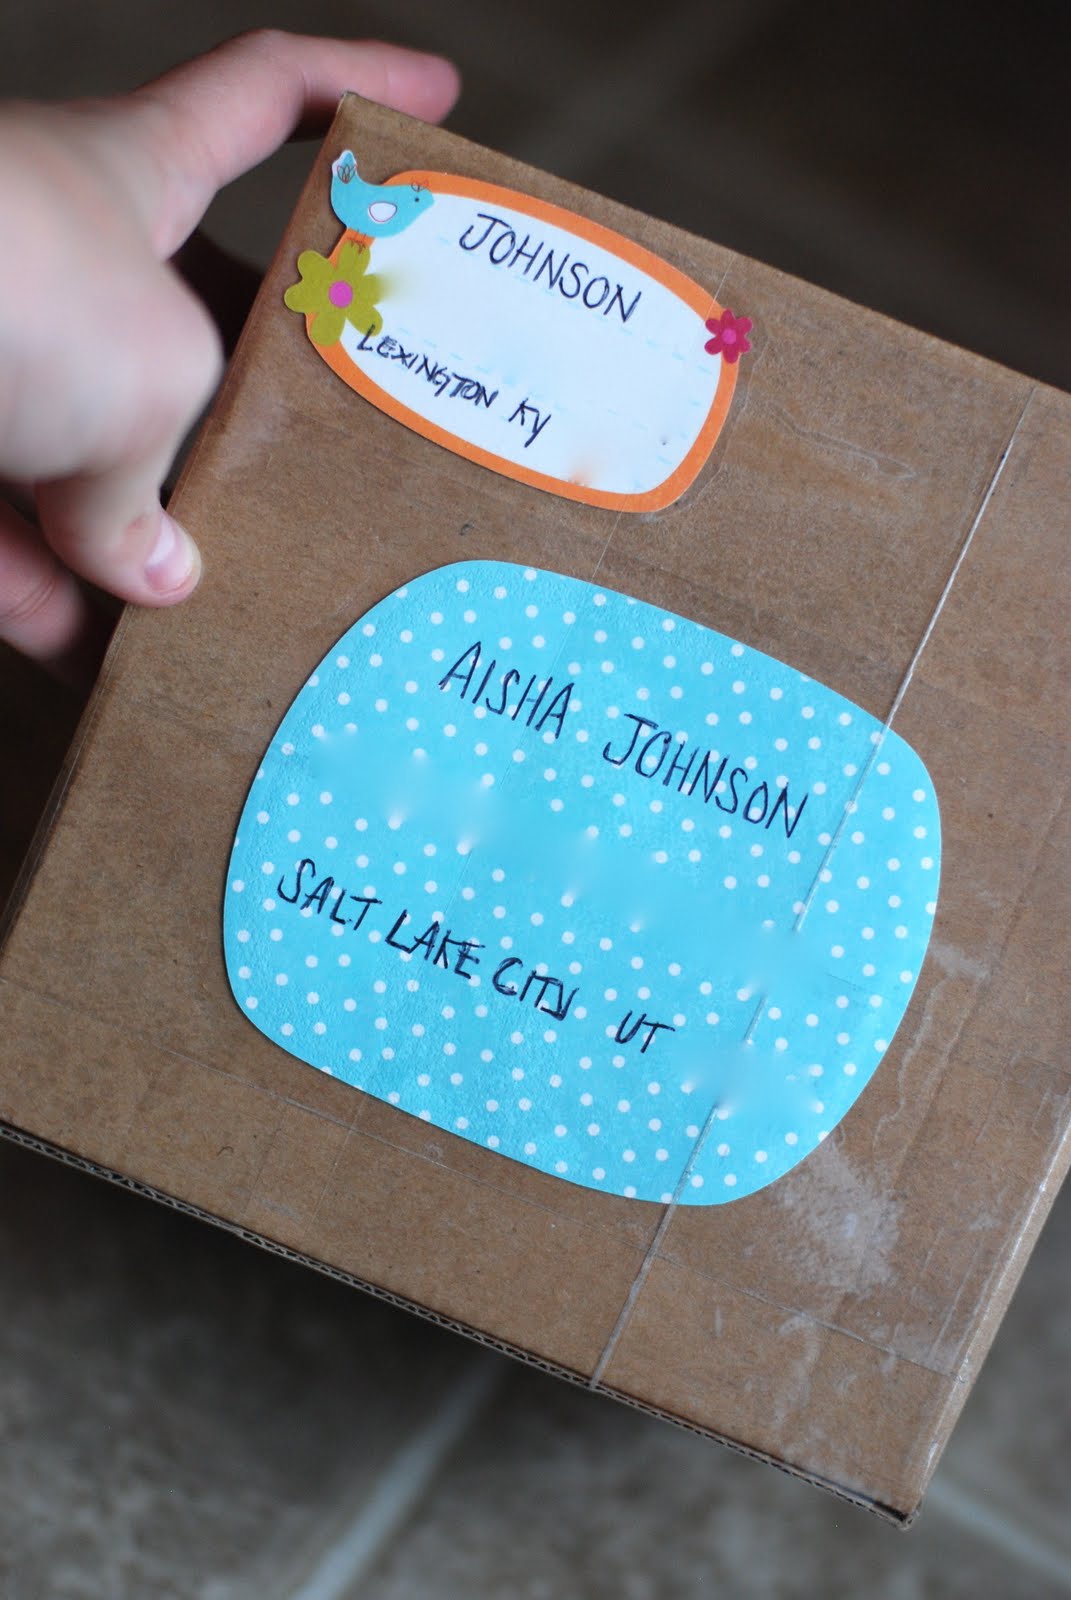
I had these cute labels that I wanted to use and they matched my colors perfectly.


Sadly the gift arrived the day of the baby shower, after it had already happened. However Aisha was nice enough to give me a call as she opened it. I think she was delighted!

The same week I had sent her gift, I had another baby shower for a friend. This one I was able to attend. I decided I would keep it a little more simple and just make a few binky clips. I almost kept two of them for myself because they were do darn cute!


I wrapped them up the same way and added a little note. I was amazed at how many people actually made stuff. I think its cute and personal to make things to give away and to me means a lot that someone actually took the time to make something rather than just buying it. However I, on many occasions have been the one who bought something... last minute. I vow from now on to make an effort to create something!


So if you have a baby shower coming up, challenge yourself to make something HANDMADE for that little bundle of joy. I know you can do it, so go for it!!

Winner Winner...

Well I am super impressed by everyone who signed in to win. I've won a few giveaways in the past, I thought it was only fair I held one of my one to show my thankfulness!

So without further ado...

The winner of the Sage K giveaway is


CONGRATS!

If you could please contact me within the next day, we will get things set up.
blackpearl381@gmail.com

For those of you who did not win, my 20% off will still be available until December 16th. Just in time to get the gift for Christmas. Just enter XMAS20

Thanks for participating and be on the look out Sage K is planning another giveaway... coming soon!

Naughty or Nice? Lump of Coal Gift Boxes...


I am sure you have all seen these little lump of coal boxes at some point. If you haven't, check out how cute and what a fun idea they are. Martha, my dear friend Martha Stewart has a great little tutorial on how to make them here. I also found another tutorial on how to make them here.

Since I knew I wanted to make a few, I went all out and made 8. 8 means I have a more than I need, which means I will be selling my extras on my etsy shop here. I am only going to have these available for a short time in order to make sure they get to you by Christmas.

I however made my own tutorial as well... to show you exactly how easy these aren't, sort of or maybe I just had a harder time with them. Its quiet a task but I accomplished it and I am in LOVE with the final product.

If you are not interested in buying some, go ahead with the post and find out how to make your own...

Lump of Coal Gift Box Tutorial...

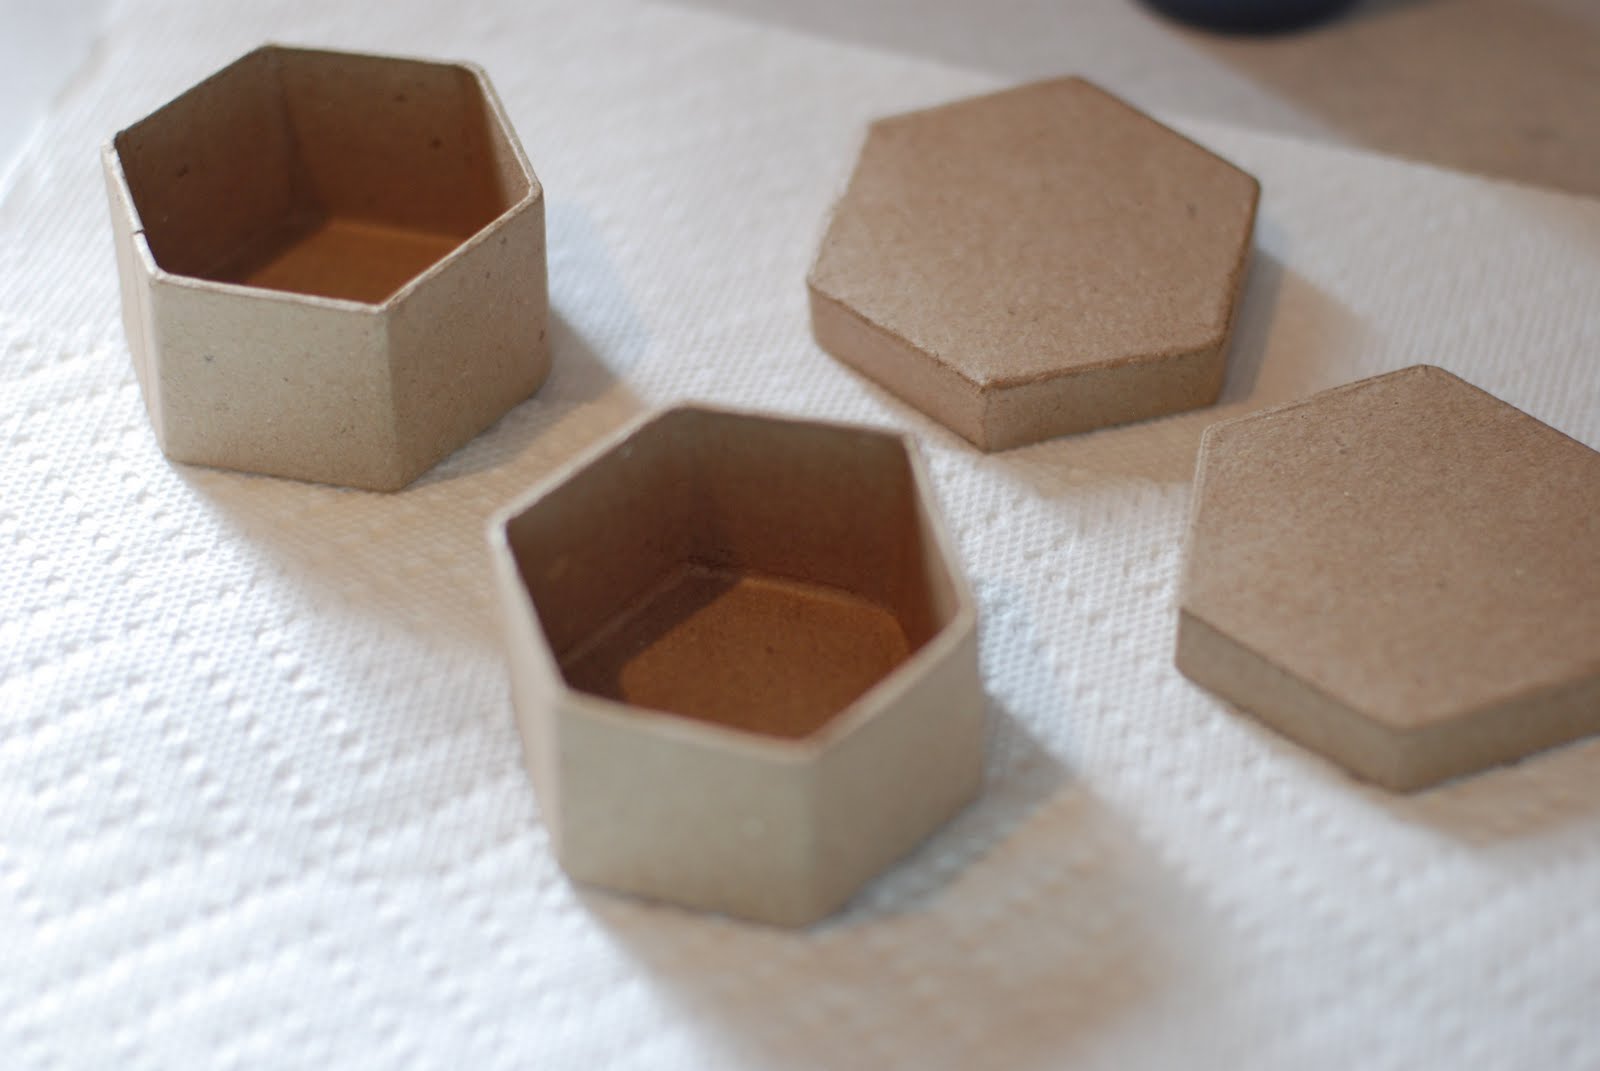
I found the boxes at hobby lobby, there were a number of shapes and after pondering for a bit I decided to be traditional and follow Martha.


Obviously the boxes need to be painted. I painted inside and out. as they were drying I did the dishes, how lovely huh?


After they are dry take some black (could be orange paper, you don't see it) card stock and kind of crumble it up any which way. I fiddled with this part for a while because I wanted it to be perfect. Trust me, it doesn't need to be. There just needs to be some mass that will hold up the other paper we put on top later. Hot glue it to the lid, center, off center, just on top of the lid somewhere.


Take a square piece of black card stock that is bigger than the lid, fold it in half, fold it in half again, undo the last fold you just did and bring the open corners to the center, like a triangle. The top of the triangle will be where the card stock is folded. Sorry I didn't take a picture. And it doesn't really matter. You're just making lines in the coal and making a point so the paper kind of elevated.

This is where I strayed from the other tutorials. I didn't read through and figured that they hot glue needed to be on the outside of the lid. The other one says hot glue it to the top of the lid. I panicked once I noticed I did it wrong, but again it doesn't have to be perfect and it didn't matter that I glued it to the sides of the lid.


You will probably run into this problem of the paper not fitting over the lid exactly. Doesn't matter much, we are still applying one more piece of paper over this. Hold the paper where you have hot glued it for a few seconds, the paper is strong so it tends to pull away until the glue is really set. When its all set, cut off the remaining paper.


I just took those weird spots and smashed it in against the lid


Top view


And the under view, yes it is ugly, but it gets much better. Oh notice how the sides of the lid don't meet the paper. I will address this later.


Now take another piece of card stock that is a bit bigger than the lid. I followed Martha's way and used fabric stiffener rather than water. I think this is key to creating a top that is as hard as a rock. So soak the paper in the stiffener for 10 seconds or so. Meanwhile apply a coat of mod podge to the top of the lid, everywhere on the lid including the sides.


Take the paper out of the solution, squeeze it so the excess stiffener runs off, open the paper and then crumple it up again. Wrap the paper around the lid in the same manner we applied the first paper. At this point it started to get really messy, my hands immediately started turning black and little black paper fibers were coming off onto my hands. No worries though!


Cut off the remaining paper


Again your probably going to get spots where the paper overlaps or looks funny. Just cut it off. You will be applying mod podge over the top (and glitter), so it will seal the weird looking parts. Plus remember it's coal, its not supposed to be super pretty. Once you've trimmed it up, apply a layer of mod podge and yes the card stock will still be wet.


I am not sure how long it took to dry completely, a few hours at least. I am sure you can find something else to craft while it's drying.

This is what it looks like after the first coat of mod podge has dried.


So remember all those gaps I had between the box and the paper? I filled them with mod podge, and now this is how it looks. Better right?


Finally apply another coat of mod podge over the top and apply glitter (while mod podge is still wet of course). You dont have to do this, I however did. After the top was all done, I put the lid on and put a layer of mod podge around the sides of the box that were not covered by the lid, then I glittered them up too. Once everything was dry, I ran my hands over the glitter to pull off all the glitter flecks that were kind of hanging on.

The final product!


Places I've linked.


BWS tips buttonhandmade projects

SAGE K GIVEAWAY...


That's right, it's time for a

Sage K


One lucky reader will get to pick

any 3 single items in the


That means you can pick

up to 3 pairs of earrings...

or

3 felt flower clips...

or

2 pairs of earrings and 1 felt flower clip


However you want to mix and match it

or

choose from one of my pre made 3 packs


  1. Mandatory -- Head over to Sage K and Co. Come back and let me know which is your favorite.
  2. Follow the Sage K and Co. blog.
  3. Mention this giveaway on Facebook.

Leave a separate comment for each thing you do.
And, if you order something from Sage K and Co. during this giveaway, you will get
20% off !!
{excludes shipping)
enter XMAS20 in the coupon box at checkout to save 15% off your order!

Awesome deal!

These make the perfect little gifts for the special wife, mom, daughter, sister or girlfriend in your life!

Don't miss out!!


Giveaway ends @ midnight Thursday December 9th
winner will be announced Friday

Black Friday Event...


That's right Sage K and Co. is participating in the spirit of black friday. This friday only, enter the coupon code to get 30% off of your order. Don't miss it!

My Version of the 2 x 4 Turkey...

So we have all seen it, the 2 x 4 turkey by Craft Goodies. I have to admit, I started making this turkey the moment I saw it and I didn't realize until now that Wendy and I basically used the same paper. Good old Hobby Lobby! Well Her tutorial went up today on Ucreate.

Well here is my version. Looks basically the same right? It's too cute not to share.


I Really love Wendy's version, I did however find some craft sticks at the store that I thought would make great turkey neck's/head.


Again, I need to emphasize that this turkey was not my idea, I am only copyrighting the photos in which I took. The idea belongs to Wendy over at Craft Goodies. Check her blog out, she is amazing!

Wendy sells kits for these and I just wanted to share that I also have a plethora of supplies to make one of your own. My kits will have all the supplies wood, sticks for feathers, stick for head, paper, feather, ribbon, everything except for paint, glue and sand paper... If you are interested let me know. $7 for a kit, $10 already made and $5 dollar shipping.