I am sure you have all seen these little lump of coal boxes at some point. If you haven't, check out how cute and what a fun idea they are. Martha, my dear friend Martha Stewart has a great little tutorial on how to make them
here. I also found another tutorial on how to make them
here.
Since I knew I wanted to make a few, I went all out and made 8. 8 means I have a more than I need, which means I will be selling my extras on my etsy shop
here. I am only going to have these available for a short time in order to make sure they get to you by Christmas.
I however made my own tutorial as well... to show you exactly how easy these aren't, sort of or maybe I just had a harder time with them. Its quiet a task but I accomplished it and I am in LOVE with the final product.
If you are not interested in buying some, go ahead with the post and find out how to make your own...
Lump of Coal Gift Box Tutorial...
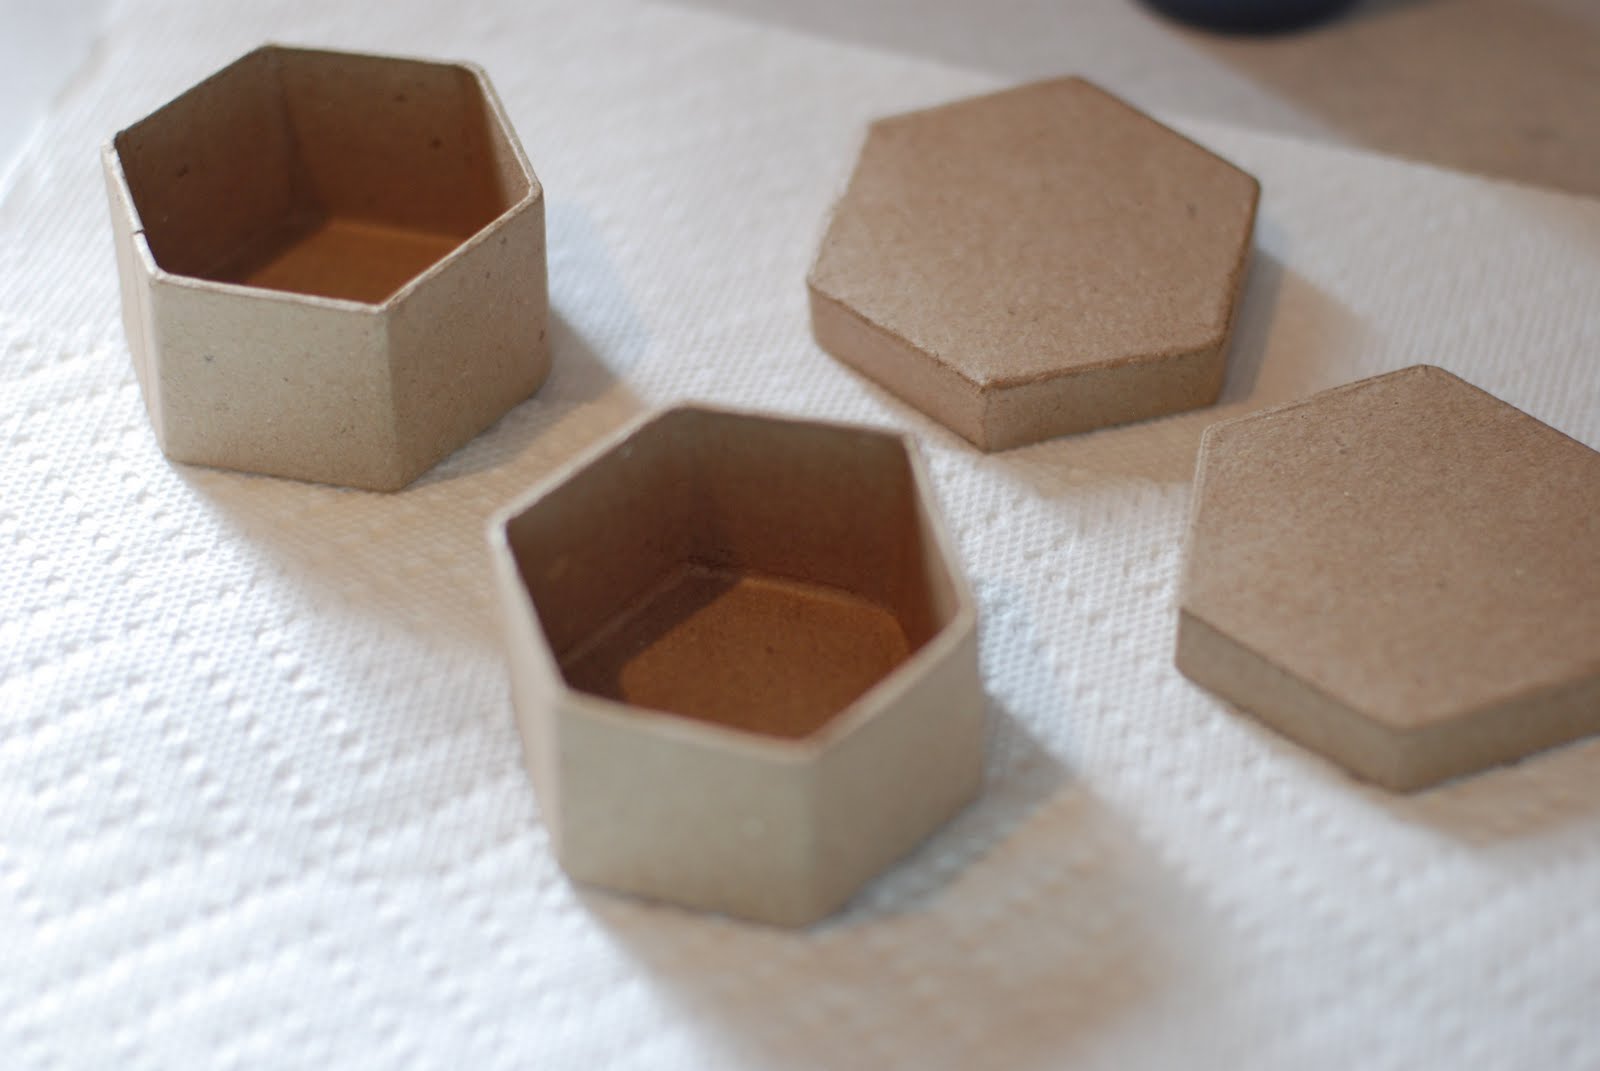
I found the boxes at hobby lobby, there were a number of shapes and after pondering for a bit I decided to be traditional and follow Martha.

Obviously the boxes need to be painted. I painted inside and out. as they were drying I did the dishes, how lovely huh?
After they are dry take some black (could be orange paper, you don't see it) card stock and kind of crumble it up any which way. I fiddled with this part for a while because I wanted it to be perfect. Trust me, it doesn't need to be. There just needs to be some mass that will hold up the other paper we put on top later. Hot glue it to the lid, center, off center, just on top of the lid somewhere.
Take a square piece of black card stock that is bigger than the lid, fold it in half, fold it in half again, undo the last fold you just did and bring the open corners to the center, like a triangle. The top of the triangle will be where the card stock is folded. Sorry I didn't take a picture. And it doesn't really matter. You're just making lines in the coal and making a point so the paper kind of elevated.
This is where I strayed from the other tutorials. I didn't read through and figured that they hot glue needed to be on the outside of the lid. The other one says hot glue it to the top of the lid. I panicked once I noticed I did it wrong, but again it doesn't have to be perfect and it didn't matter that I glued it to the sides of the lid.
You will probably run into this problem of the paper not fitting over the lid exactly. Doesn't matter much, we are still applying one more piece of paper over this. Hold the paper where you have hot glued it for a few seconds, the paper is strong so it tends to pull away until the glue is really set. When its all set, cut off the remaining paper.
I just took those weird spots and smashed it in against the lid
Top view
And the under view, yes it is ugly, but it gets much better. Oh notice how the sides of the lid don't meet the paper. I will address this later.
Now take another piece of card stock that is a bit bigger than the lid. I followed Martha's way and used fabric stiffener rather than water. I think this is key to creating a top that is as hard as a rock. So soak the paper in the stiffener for 10 seconds or so. Meanwhile apply a coat of mod podge to the top of the lid, everywhere on the lid including the sides.
Take the paper out of the solution, squeeze it so the excess stiffener runs off, open the paper and then crumple it up again. Wrap the paper around the lid in the same manner we applied the first paper. At this point it started to get really messy, my hands immediately started turning black and little black paper fibers were coming off onto my hands. No worries though!
Cut off the remaining paper
Again your probably going to get spots where the paper overlaps or looks funny. Just cut it off. You will be applying mod podge over the top (and glitter), so it will seal the weird looking parts. Plus remember it's coal, its not supposed to be super pretty. Once you've trimmed it up, apply a layer of mod podge and yes the card stock will still be wet.

I am not sure how long it took to dry completely, a few hours at least. I am sure you can find something else to craft while it's drying.
This is what it looks like after the first coat of mod podge has dried.

So remember all those gaps I had between the box and the paper? I filled them with mod podge, and now this is how it looks. Better right?

Finally apply another coat of mod podge over the top and apply glitter (while mod podge is still wet of course). You dont have to do this, I however did. After the top was all done, I put the lid on and put a layer of mod podge around the sides of the box that were not covered by the lid, then I glittered them up too. Once everything was dry, I ran my hands over the glitter to pull off all the glitter flecks that were kind of hanging on.
The final product!
Places I've linked.